Appearance
mysql是目前最流行的关系型数据库管理系统,在WEB应用方面MySQL是最好的RDBMS(Relational Database Management System:关系数据库管理系统)应用软件之一。
MySQL是非常灵活的一款数据库,虽然它不是绝对完美,但它的灵活足够适应很多高要求的环境。为了发挥MySQL的性能并很好的使用它,我们就得先了解其设计。MySQL的灵活主要体现在我们可以通过不同的配置使他在不同的硬件上都能运行的很好。但是MySQL最重要,与众不同的特性是它的存储引擎架构,这种架构将查询处理及其他系统任务和数据的存储/提取相分离。
一、mysql概述
1.1、关系型数据库
关系型数据库天然就是二维表格,因此存储在数据表的行和列中。数据表可以彼此关联协作存储,也很容易提取数据。
1.2、MySQL数据库
MySQL是一个关系型数据库管理系统,由瑞典MySQL AB公司开发,目前属于Oracle公司。
MySQL可将数据保存在不同的表中,而不是将所有数据放在一个大的仓库内,从而加快了访问速度并提高了灵活性。
MySQL 使用了标准的 SQL 语言形式。支持大型的数据库,可以处理拥有上千万条记录的大型数据库。MySQL 还可用于多种系统中,且支持多种语言。
1.3、RDBMS术语
数据库:数据库是一些关联表的集合。
数据表:表是数据的矩阵。在一个数据库中的表看起来像一个简单的电子表格。
列:一列(数据元素)包含了相同的数据,例如邮政编码的数据。
行:一行(=元组,或者记录)是一组相关的数据,例如一条用户订阅的数据。
亢余:存储两倍数据,亢余降低了性能,但是提高了数据的安全性。
主键:主键是唯一的,一个数据表中只能够包含一个主键,你可以使用主键来查询数据。
外键:外键用于关联两个表。
复合键:复合键(组合键)将多个列作为一个索引键,一般用于复合索引。
索引:使用索引可快速访问数据库表中的特定信息。索引是对数据库表中一列或者多列的值进行排序的一种结构。类似于书籍的目录。
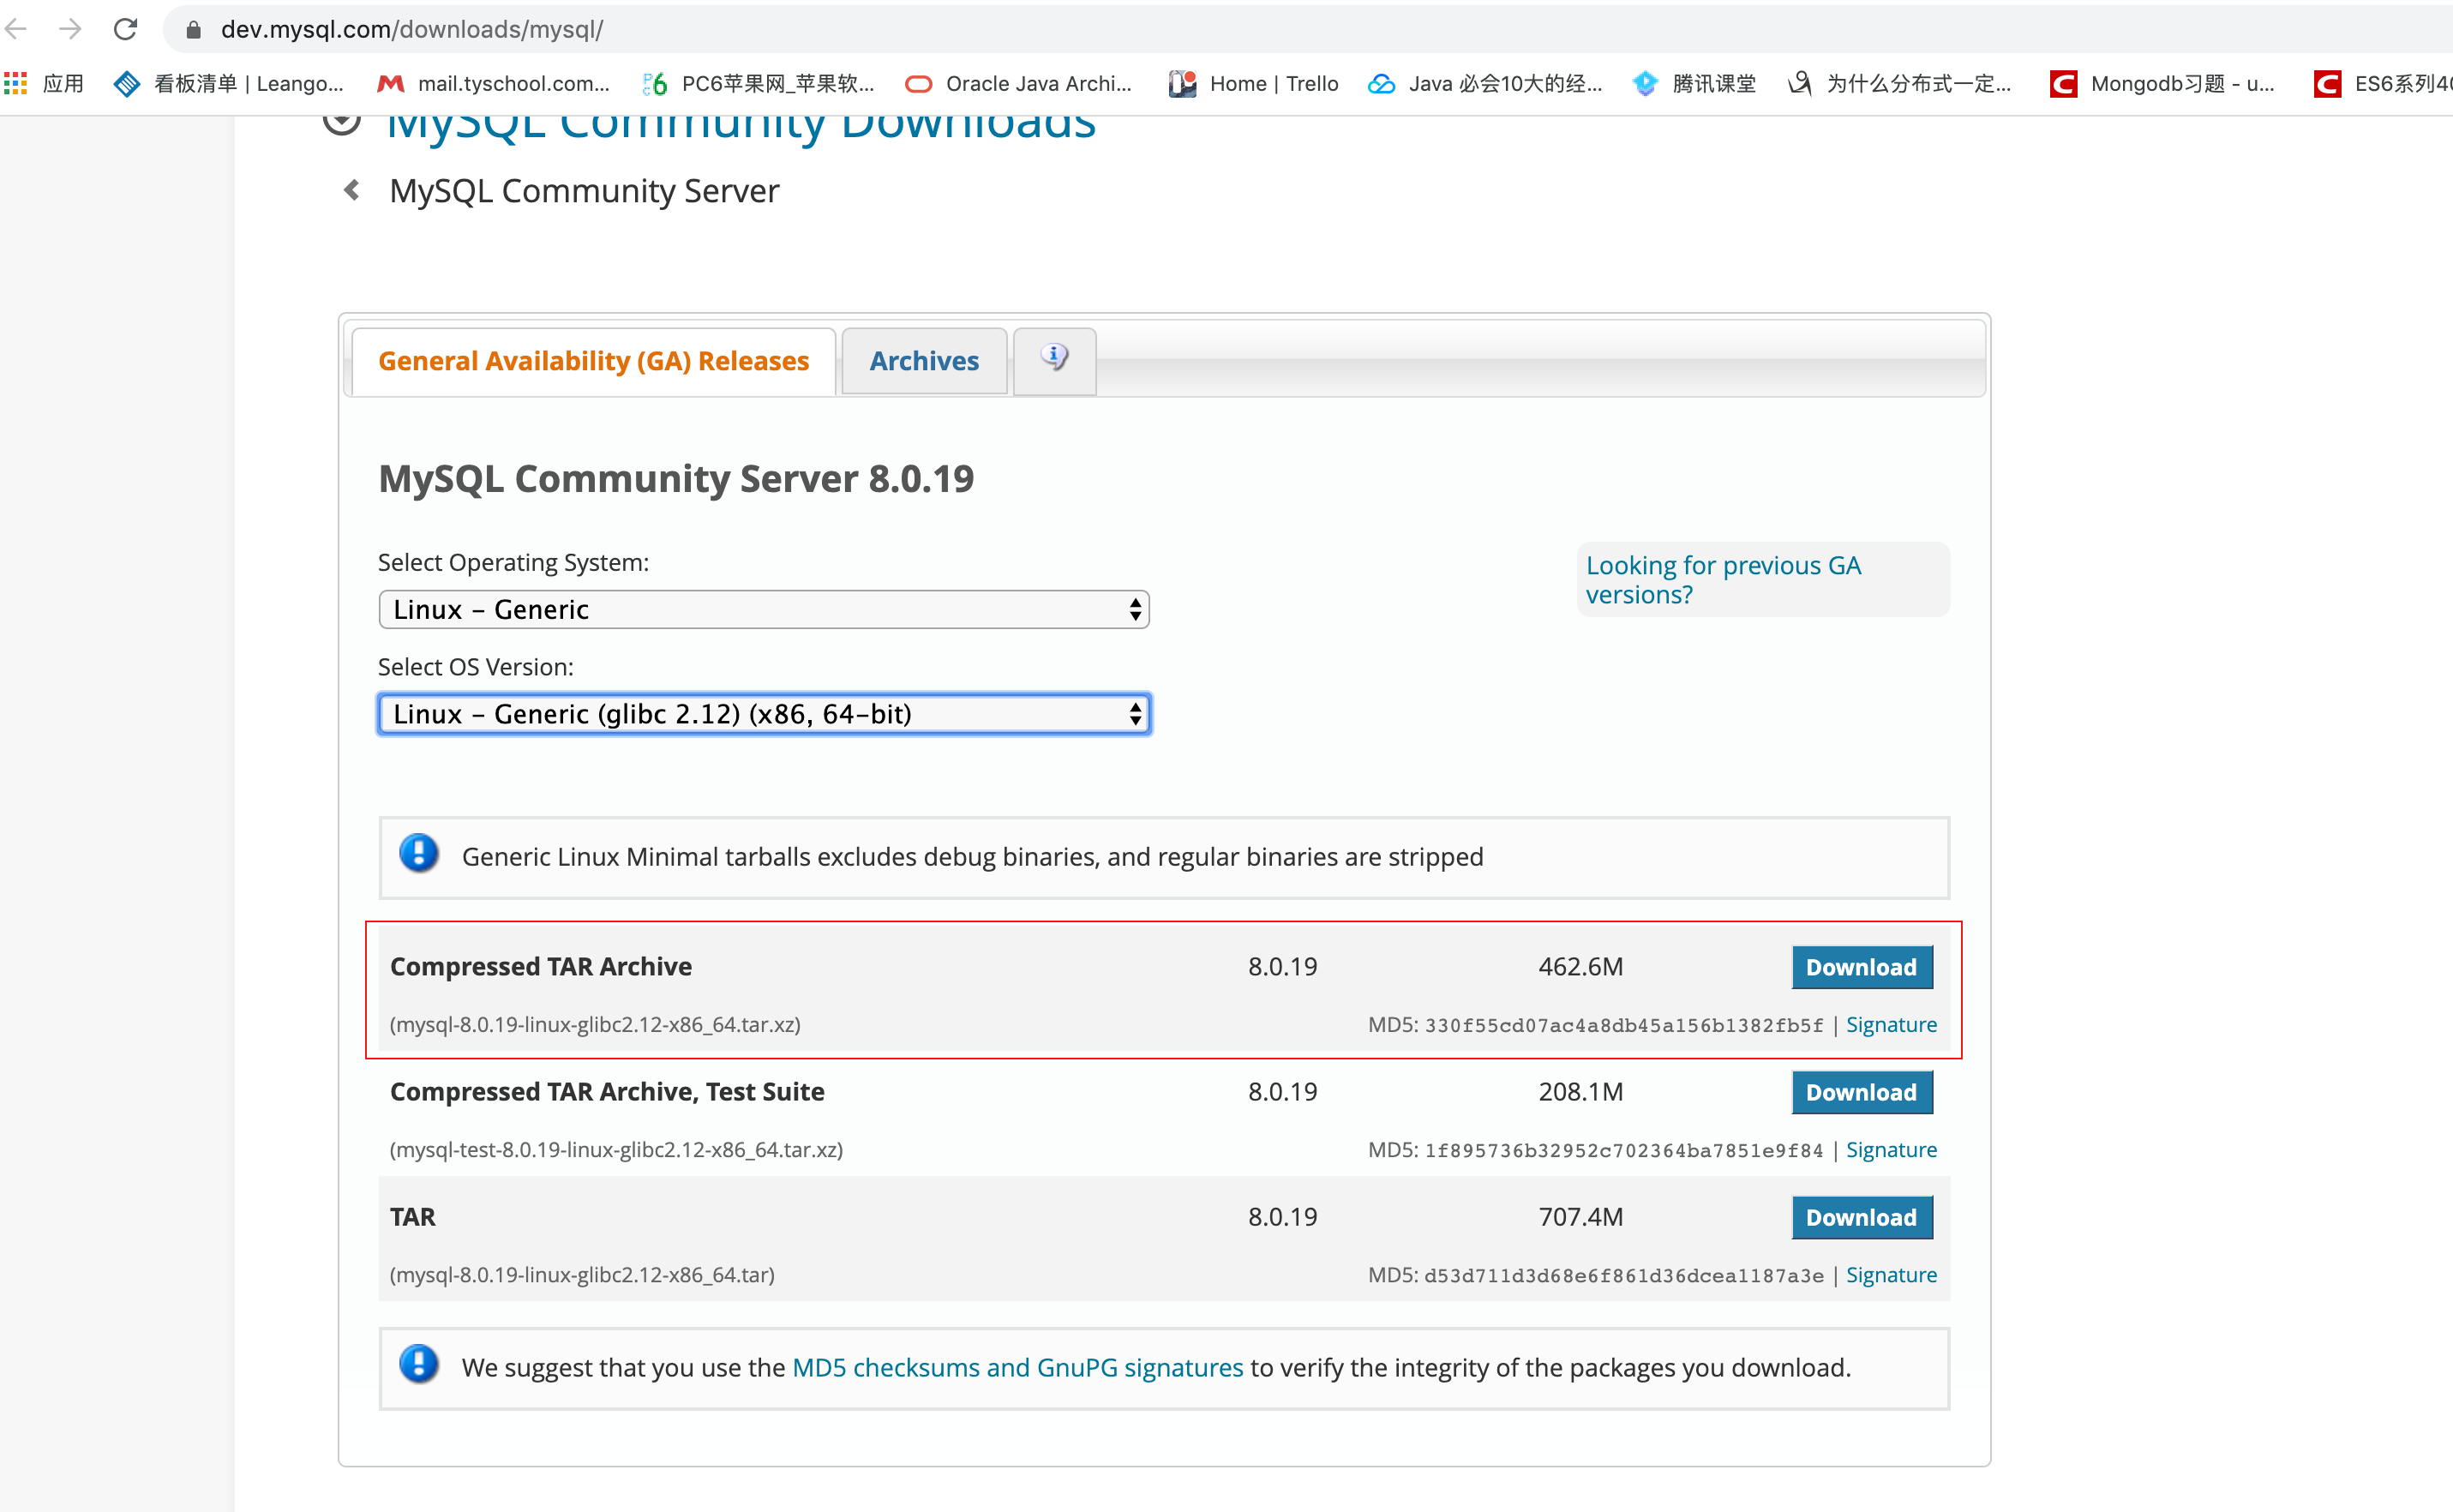
1.4、mysql下载
https://dev.mysql.com/downloads/mysql/

点击“Download”后,我们要先登录Oracle,才能进行下载。
2、mysql安装
2.1、指定安装文件位置
将mysql安装包放到/usr/local/下面

2.2、解压
[root@zutuanxue local]# xz -d mysql-8.0.17-linux-glibc2.12-x86_64.tar.xz
[root@zutuanxue local]# tar -xvf mysql-8.0.17-linux-glibc2.12-x86_64.tar2.3、改名
[root@zutuanxue local]# mv mysql-8.0.17-linux-glibc2.12-x86_64 mysql2.4、创建用户组
mysql用户组、mysql用户
[root@zutuanxue local]# groupadd mysql
[root@zutuanxue local]# useradd -r -g mysql mysql
[root@zutuanxue local]# passwd mysql
#更改密码:Ww1985929wW2.5、修改MySQL配置文件
/etc/my.cnf
# For advice on how to change settings please see
# http://dev.mysql.com/doc/refman/5.6/en/server-configuration-defaults.html
# *** DO NOT EDIT THIS FILE. It's a template which will be copied to the
# *** default location during install, and will be replaced if you
# *** upgrade to a newer version of MySQL.

[mysqld]

# Remove leading # and set to the amount of RAM for the most important data
# cache in MySQL. Start at 70% of total RAM for dedicated server, else 10%.
# innodb_buffer_pool_size = 128M

# Remove leading # to turn on a very important data integrity option: logging
# changes to the binary log between backups.
# log_bin

# These are commonly set, remove the # and set as required.
basedir = /usr/local/mysql
datadir = /usr/local/mysql/data
port = 3306
# server_id = .....
socket = /tmp/mysql.sock
character-set-server = utf8
skip-name-resolve
log-error = /usr/local/mysql/data/error.log
pid-file = /usr/local/mysql/data/mysql.pid

# Remove leading # to set options mainly useful for reporting servers.
# The server defaults are faster for transactions and fast SELECTs.
# Adjust sizes as needed, experiment to find the optimal values.
# join_buffer_size = 128M
# sort_buffer_size = 2M
# read_rnd_buffer_size = 2M

sql_mode=NO_ENGINE_SUBSTITUTION,STRICT_TRANS_TABLES2.6、创建data文件夹
data文件夹是用于存储数据库文件,他的位置是在mysql目录下
[root@zutuanxue mysql]# mkdir data2.7、更改mysql目录权限
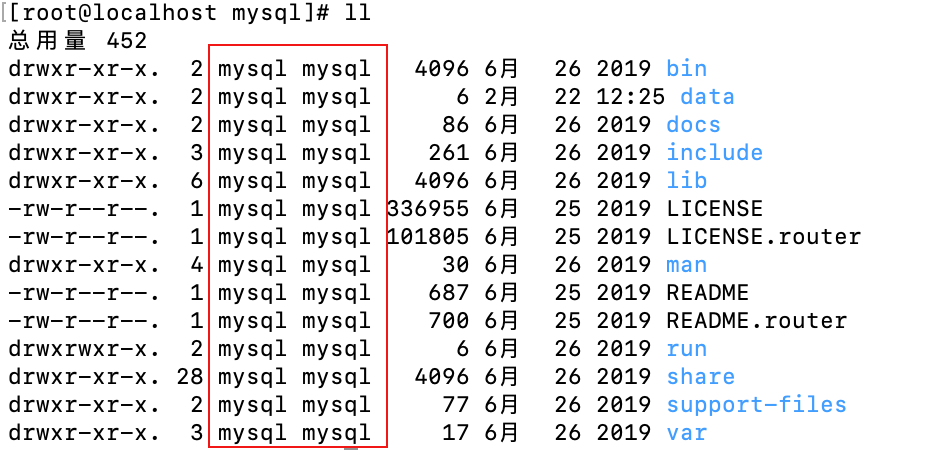
[root@zutuanxue mysql]# chown -R mysql .
[root@zutuanxue mysql]# chgrp -R mysql .
2.8、初始化数据库
[root@zutuanxue mysql]# ./bin/mysqld --initialize --user=mysql --basedir=/usr/local/mysql --datadir=/usr/local/mysql/data执行完后查看初始密码:
[root@zutuanxue mysql]# vim /usr/local/mysql/data/error.log

2.9、启动mysql服务
[root@zutuanxue mysql]# ./support-files/mysql.server start
Starting MySQL... SUCCESS!2.10、修改root密码
[root@zutuanxue mysql]# ./bin/mysql -uroot -prj%-:yqHb98g
修改密码:
mysql> alter user 'root'@'localhost' identified by 'Root123456';
Query OK, 0 rows affected (0.05 sec)3、mysql操作
3.1、服务器操作
启动、停止、重启
[root@zutuanxue mysql]# ./support-files/mysql.server restart
Shutting down MySQL. SUCCESS!
Starting MySQL.. SUCCESS!
[root@zutuanxue mysql]# ./support-files/mysql.server stop
Shutting down MySQL.. SUCCESS!
[root@zutuanxue mysql]# ./support-files/mysql.server start
Starting MySQL.. SUCCESS!3.2、设置远程连接
mysql> create user 'root'@'%' identified with mysql_native_password by 'Root123456';
Query OK, 0 rows affected (0.01 sec)

mysql> grant all on *.* to 'root'@'%';
Query OK, 0 rows affected (0.00 sec)

mysql> flush privileges;
Query OK, 0 rows affected (0.00 sec)遇到问题:
Can’t connect to MySQL server on ‘192.168.1.121’ (61)
[root@zutuanxue mysql]# systemctl stop firewalld.service
[root@zutuanxue mysql]# firewall-cmd --state4、mysql卸载
4.1、停止mysql服务
[root@zutuanxue mysql]# ./support-files/mysql.server stop
Shutting down MySQL.... SUCCESS!4.2、查找所有mysql相关文件夹
查找
[root@zutuanxue mysql]# find / -name mysql
删除所有查出来的文件夹
[root@zutuanxue mysql]# rm -rf /var/lib/selinux/targeted/active/modules/100/mysql
......4.3、删除配置文件
配置文件一般有/etc/my.cnf 或/etc/init.d/mysql.server,
[root@zutuanxue mysql]# rm -f /etc/my.cnf
[root@zutuanxue mysql]# rm -rf /etc/init.d/mysql.server4.4、删除用户组
[root@zutuanxue mysql]# userdel mysql
[root@zutuanxue mysql]# id mysql
id: “mysql”:无此用户